Visual is King (Video)
When creating original graphics for your website, I recommend referring to the following tutorials:
Topic: Design Hacks Using Canva
You'll learn more on this topic under reverse engineer framework 2.0. Kindly review the following subject.
Color Scheme Generator

Coolors.co

palettes.shecodes.io
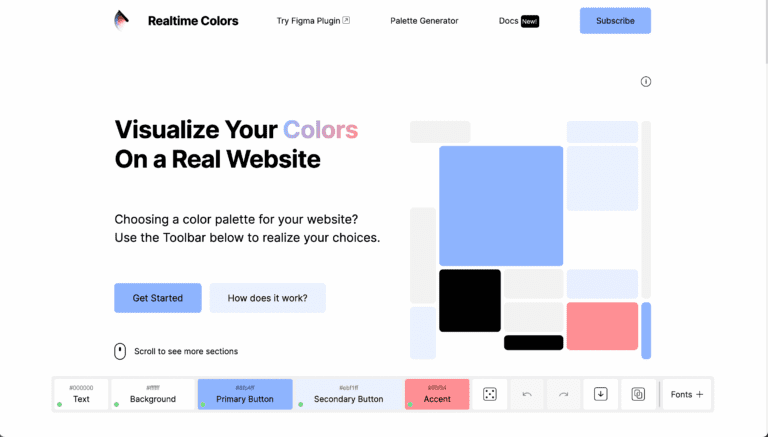
realtimecolors

colpat (AI)
RealtimeColors.com shows your color palette choice live on a mock website. It gives you a clear picture with no to little guesswork needed. It also checks the contrast between your selected colors. Once you have chosen your color palettes, this make it easier to determine which color go to which element on your website.
How to use it?
1. Preview Your Color Palette
- Click on the “Background” color box to select a background color.
- Click on the “Text” color box to choose a text color for your website.
- Choose your primary and secondary colors by clicking on the respective color boxes. Your primary color will often be used for main Call to Actions (CTAs) and important sections, while the secondary color is used for secondary buttons and info cards.
- Select an accent color by clicking on the “Accent” color box. This is often used on elements such as images, hyperlinks, or highlights to draw attention.
2. Choosing Your Fonts
- Look to the text preview on the right side of the screen. Here, you can see examples of header and paragraph text.
- Above the text preview, you’ll see two dropdown menus labelled “Headers” and “Body”. Click on each to select the font type you wish to use for headers and body text on your website.
As you make changes, observe how these colors and fonts are applied to the website design preview in real-time.
Coolors.co is truly a game-changer when it comes to web design. It’s more than a simple color generator; you can lock in your preferred shades and let it find matching ones. Play around with the color sliders—it’s like having an expert designer right at your fingertips!
How to use it?
Of course, here’s a step-by-step guide on how to use coolors.co for your web design process:
- Before using all the features, consider creating an account or logging in to save color palettes to your profile. Click on the “Sign in” button at the top right corner. You can sign up with your email or use your Google, Facebook, or Apple account.
- Once logged in, navigate to the home page. Click on the “Explore” tab at the top of the page to browse color palettes created by the community.
- To discover trending color palettes, click on the “Trending” filter under the search bar. You’ll now see a collection of popular color palettes.
- Save a color palette for later viewing by hovering over the desired palette and clicking on the bookmark icon that appears. It will be added to your “Saved Palettes” under your profile.
- To search for specific palettes, use the search bar at the top of the “Explore” page. Enter keywords or a specific color, then press “Enter” to display relevant palettes.
- Access your saved color palettes by clicking on your profile icon at the top right corner and selecting ‘Saved Palettes’.
With these steps, you can easily use coolors.co to discover, save, and employ trending color palettes for your web design projects.
Your one-stop shop for color and gradient magic. It’s a bit like coolors.co, but it packs an extra punch with a gradient generator.
The AI-powered tools auto-generate color scheme palettes and even create palettes from images or colors.
How to use it?
1. Use the AI Generator
- On the dashboard page, click on Color Palette from Color [AI].
- Choose a base color, or type in a specific Hex, RGB or HSL color value.
- The AI will generate a color palette based on the chosen color
2. Generate Color Palette from Image
- Back to the dashboard, click on Palette from Image [AI].
- Upload an image file from your computer.
- Wait while the AI automatically generates a color palette based on the image.
Typography (font)

fontpair
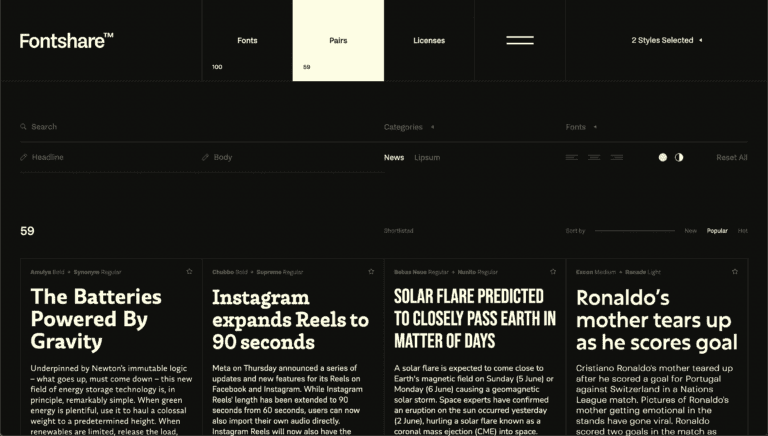
fontshare
Designers can seamlessly pair Google Fonts for that perfect typography balance. This tool isn’t just about pairing fonts, it’s about enhancing readability and aesthetics. An added point – to import these font pairings into your design, tools like Elementor Pro or other font plugins come in handy.
How to use it?
- Choose a Font Pair: Browse through the scraped results or visit the website to find font pairs you want to use in your Elementor Pro design. Note the font names and sources provided in the scraped data.
- Download Fonts: Click the ‘Source →’ links to download each font. Make sure to install them on your computer.
- Install Elementor Custom Fonts Plugin: To make the process of using custom fonts in Elementor Pro easier, install the Elementor Custom Fonts plugin. To do this, go to your WordPress dashboard, navigate to ‘Plugins > Add New’, search for ‘Custom Fonts’ and click ‘Install Now’. Once installed, activate the plugin.
- Upload Fonts to Custom Fonts Plugin: In your WordPress dashboard, go to ‘Elementor > Custom Fonts’. Click ‘Add New’ and upload the font files you’ve downloaded from FontPair.
- Access Elementor Pro: Open your WordPress admin dashboard and go to the page you want to edit with Elementor Pro.
- Assign Fonts to Text Elements:
In the Elementor interface, click on any text-based element (e.g., a text block or heading) to bring up its settings pane. Under the ‘Style’ tab, you should see an option for Typography. Click the “Family” dropdown menu and look for your newly added font pair. Select the respective font for specific text elements, e.g., a heading font for headings and a body font for paragraph text. - Experiment with Different Font Pairings: If you wish to try another font pairing, revisit FontPair and repeat steps 2-7.
These steps will help you use the FontPair website and incorporate the suggested font pairings into your web design process using Elementor Pro with the Custom Fonts plugin.
A treasure trove of high-quality, free-to-use fonts, perfect for stepping up your web design game. Find the right typefaces to complement your project and remember, to import your chosen fonts, you’ll need Elementor Pro or an alternative plugin.
How to use it?
- Browse and Preview Font Pairs: Explore the different font pairs listed on the site. You can preview each font pair by clicking on them to see how they look together.
- Choose a Suitable Font Pair: Once you’ve previewed a few, select a font pair that best suits your web design.
- Download the Fonts: After selecting the suitable font pair, click the ‘Download Family’ button on the respective font pages. Save the TrueType Font (TTF) or OpenType Font (OTF) files to your computer.
- Install the Elementor Custom Fonts Plugin: In your WordPress dashboard, go to ‘Plugins > Add New’. Search for the ‘Custom Fonts’ plugin and click ‘Install Now’. Don’t forget to activate the plugin once the install is completed.
- Upload the Fonts: Navigate to ‘Elementor > Custom Fonts’. Click ‘Add New’ and upload the downloaded font files.
- Use the Fonts in Elementor Pro: Open the page you want to edit with Elementor Pro. Click on a text-based element to bring up its settings. Under ‘Style > Typography’, click the ‘Family’ dropdown and find your newly uploaded fonts. Assign the desired font to specific elements.
This workflow will assist you in integrating beautiful font pairs from Fontshare into your web design projects using Elementor Pro.
Graphics Resources (Part 1)
Freepik

Envato (Premium)
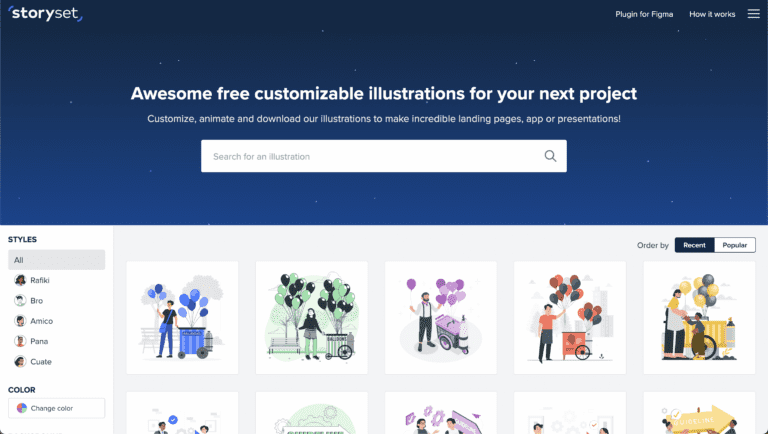
Storyset

Storytale.io

Lottie
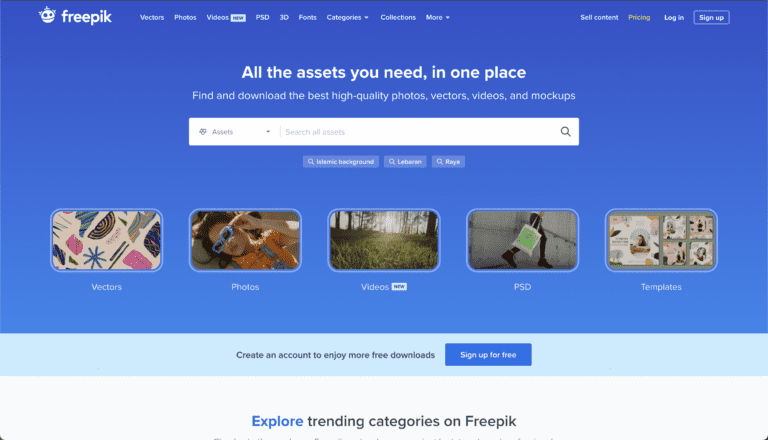
Freepik.com is a fantastic resource for fetching captivating designs and top-quality photographs. It’s great for web designers looking to add a professional touch to their projects. Its huge library boasts ready-to-use assets and is constantly updated with fresh content. So, whenever you’re searching for trendy visuals or want to speed up your design process, Freepik has got you covered.
However, to maximize the potential of Freepik’s resources, having basic skill in graphic design tools, like Adobe Photoshop or Adobe Illustrator, is necessary. Many of the assets available for download are in formats that require such software to manipulate and integrate into your projects. Whether you need to adjust the colors, sizes, shapes, or combine multiple assets, tools like Photoshop or Illustrator will provide the flexibility to tailor these resources to your design needs.
Envato.com is your go-to spot for a wide range of quality digital resources. It helps you spice up your web design process. Whether you need graphic templates, stock photos, or Elementor templates, Envato’s got you covered. For a design tip, dig into Envato’s mockup tool, perfect for showcasing your work in a realistic context.
Storyset.com is an absolute gem for injecting personality into your web design craft. What stands out is the ability to animate illustrations; a neat little way to reel in your audience. You can also tweak colors for a perfect match with your design’s theme. What’s more, with variety in backgrounds and layers, creating depth in your web design becomes a piece of cake. Storyset truly enables you to tell a visually appealing story through your projects.
How to use it?
- Explore Categories: Click on the various categories, like Business, People, Work, Education, Medical, etc., to explore the available illustrations.
- Choose an Illustration: Select an illustration that best complements your web design project.
- Customize Colors: On the illustration page, use the color customization options to adapt the hues to match your project’s theme.
- Select Background and Layers: Use the customization tools to choose from different backgrounds and layers to add depth to your design.
- Animate Your Illustration: Utilize the built-in animation features to bring your illustration to life, making it more engaging for your audience.
- Download the Customized Illustration: Once you’re satisfied with the customization, click on the ‘Download’ button. You can choose the desired format, either SVG or animated Lottie JSON.
Storytale.io is a nifty resource for web design, loaded with distinctive illustrations to elevate your visual storytelling. You’ll discover diverse styles ranging from flat to hand-drawn, providing unique aesthetics for every project. One clever tip is to blend these illustrations with micro-animations to create interactive designs. Plus, Storytale.io stands out with its unique 3D graphics suite, enabling you to add depth and a touch of modernity to your web designs.
How to use it?
- Sign Up or Log In: Click on the ‘Sign In’ button located on the top right corner of the page. Here, you can either sign into your existing account or create a new account by clicking ‘Create an account.’
- Explore Categories: Browse through the various categories, such as Business, Technology, People, or click on ‘Collections’ to explore the available illustrations and assets.
- Filter for Free Illustrations: To locate free assets, click on the filter, usually found in the platform’s top menu, then select ‘Free’. This action will display only the free illustrations and assets available for download.
Picture this: you’ve got an abundant vault of super customizable Lottie animations that load like lightning, so your site’s speed isn’t compromised. And check out their unique editor, right? It lets you tweak on-the-fly to blend perfectly with your design. Plus, there’s a buzzing community sharing creative stuff! Cool, isn’t it? Not something you’d catch at a glance when first dropping by the site.
How to use it?
- Explore Animations: Browse through the animations library to find animations suitable for your web design.
- Preview Animations: Click on any animation thumbnail to preview it. Make sure to check its animation speed, color, and size to see if it fits with your design aesthetics.
- Download Animations: Once you find an animation you like, click on the ‘Download’ button and choose an appropriate take advantage of the JSON file format for the animation.
- Access Elementor Pro: Log into your WordPress dashboard and navigate to the page you want to edit with Elementor Pro.
- Add Lottie Widget: In the Elementor editor, search for the ‘Lottie’ widget including under ‘General Widgets’. Drag and drop it into the area in your layout where you want to add the Lottie animation.
- Upload Lottie File: In the ‘Lottie’ widget settings, under the ‘Content’ tab, you’ll find the ‘Source’ setting. Select ‘Media File’ and upload the JSON file of your downloaded Lottie animation.
- Configure Animation Settings: Various settings like looping, reverse animation, renderer, and animation speed among others can be adjusted under the ‘Settings’ section of the ‘Content’ tab.
- Preview & Save: Use the ‘Preview’ option to view the animation on your site. If satisfied, click ‘Update’ to save changes.
Graphics Resources (Part 2)

Streamlinehq

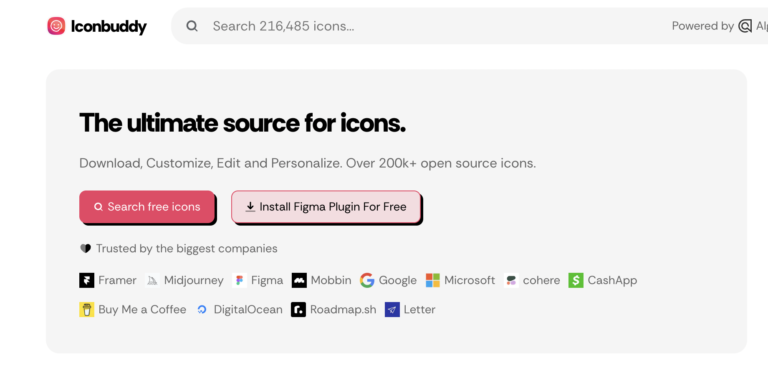
iconbuddy
This collection isn’t just any old clip-art though! It’s jam-packed with vibrant, meaningful drawings that ooze character. You know what’s unique about it? Every single illustration can be color-customized to suit your design theme.
How to use it?
- Sign Up or Log In: Click on the ‘Sign In’ button located on the top right corner of the page. Here, you can either sign into your existing account or create a new account by clicking ‘Create an account.’
- Explore Categories: Browse through the various categories, such as Business, Technology, People, or click on ‘Collections’ to explore the available illustrations and assets.
- Quick Hack with chrome extension: Use Image Downloader chrome extension to download all the icons, vectors and graphics without watermarks. However, it is worth noting you will not get the full resolution using this method.
fffuel.co isn’t just another static resource set. It’s an interactive playground where you can create and customize your unique SVG elements, tailoring them to match your design style. From hand-drawn doodles to twisting line patterns, the creative potential is as expansive as your imagination, providing you with a variety of options to give your designs that distinct, playful spin you desire.
Online Design Tools

app.haikei.app
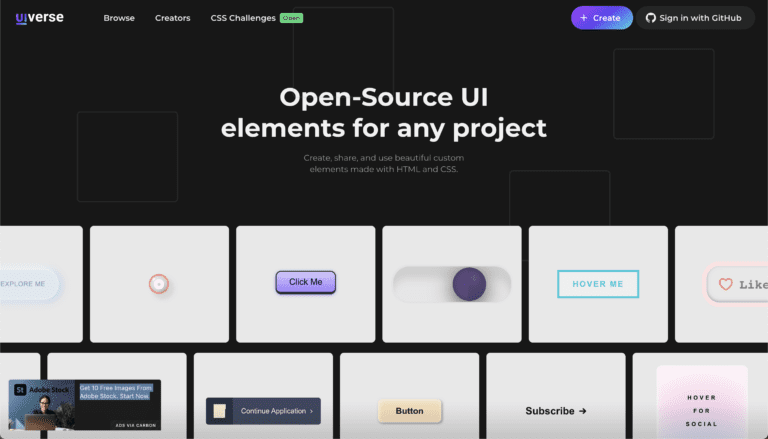
UIVerse
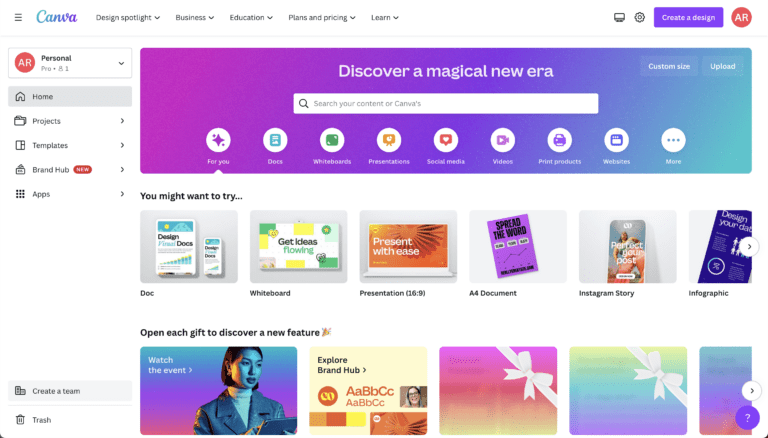
Canva
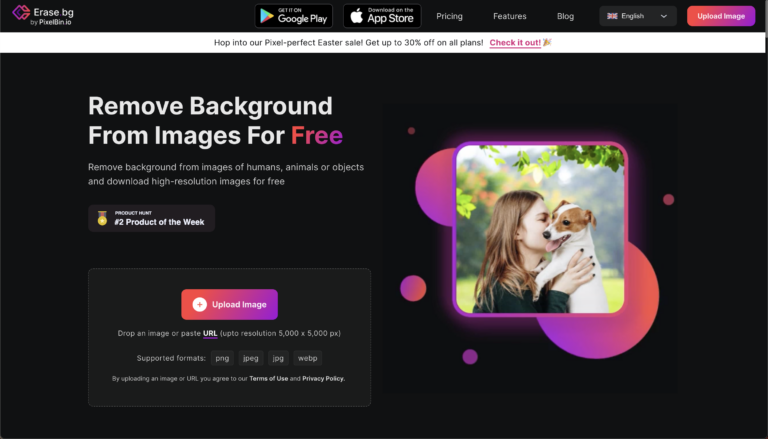
Erase.bg

Shots.so
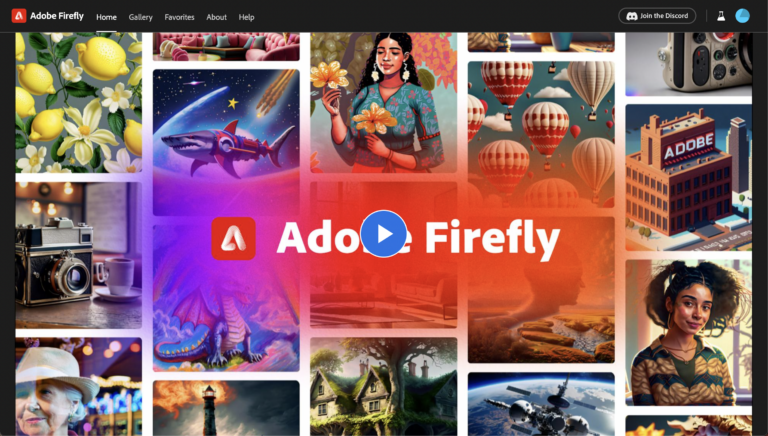
Adobe Firefly (AI)
With app.haikei.app, creating unique background images for your web design has never been easier. It allows you to shake up your designs by generating dynamic shapes, blobs, or SVG patterns. The range of customizable settings – from complexity to contrast, empowers you to concoct designs that are a perfect match to your site’s look and feel. So, your website background won’t be “just another design,” but a unique graphic masterpiece tailored to your needs.
How to use it?
- Choose a Design Type: Select the type of design you’d like to create for your background from the available options. These could be blob patterns, wavy shapes, gradients, and more.
- Customize Your Design: Adjust the different available settings such as complexity, contrast, colors, and more according to your website’s design aesthetics.
- Preview Your Design: After you’ve set your preferences, preview the design to make sure it aligns with what you had in mind.
- Generate and Download Your Design: Click the ‘Generate’ button if you’re satisfied with the preview. Repeat this step until you find a design you’re happy with. Once done, click ‘Download’ to save the SVG or PNG file to your device.
- Open Elementor: Navigate to your WordPress website and open the page you want to edit in Elementor Pro.
- Add the Background Image: In the left panel, select ‘Style > Background > Classic > Image’ and upload the SVG or PNG downloaded from Haikei. Adjust the settings as needed, like positioning and size.
Uiverse.io is your go-to source for UI elements created with CSS. You can craft, share, and use custom elements from talented creators too. They have a top creators list, filled with design inspiration, and you can just grab the code and roll with it.
How to use it?
- Choose UI Element: Browse the library or use the search function to find a UI element that fits your design needs.
- Get the Code: If the element meets your requirements, click on the “Get Code” button to reveal the associated HTML/CSS code.
- Copy the Code: Highlight and copy the provided HTML & CSS code.
- Open Elementor in WordPress: Navigate to your WordPress site and open the specific page you’re modifying with Elementor Pro.
- Drag the HTML Widget: In the Elementor side panel, locate the ‘HTML’ widget under the ‘General’ widgets category. Drag-and-drop it into the desired area on your website layout.
- Paste the Code Into HTML Widget: Paste the copied HTML code into the HTML code area.
- Apply Custom CSS: Then, under the ‘Advanced’ tab in the Elementor side panel. Here, you’ll find a ‘Custom CSS’ section. You can insert the CSS code here.
When it comes to designing a website, the one tool I absolutely cannot do without is Canva Pro. It’s the ultimate design resource hub packed with an extensive range of assets – from artistic iconography and captivating illustrations to impactful graphics; you name it! But its features don’t stop at offering pre-made assets. What truly sets Canva Pro apart is its AI-driven generator that offers custom graphics creation. Simply provide a prompt and watch as this clever tool generates unique, personalized graphics to match, making every project you undertake a true reflection of your creative intent.
It offers super precise AI background removal. Imagine being able to erase even the most detailed backdrops, making your images website-ready.
This platform is all about creating show-stopping mockups with just a drop or paste. Cool, right? It adapts to your PNG or JPG format images and effortlessly fits them into realistic scene previews. Say goodbye to time-consuming mockup manipulation and hello to high-quality visuals in no time.
How to use it?
- Prepare Your Image: Make sure you have your desired image for the mockup ready. Shots.so supports PNG and JPG format files.
- Upload Your Image: On the Shots homepage, you’ll see an option to either ‘DROP’ your image file or ‘PASTE’ it. You can either drag and drop your file or simply paste it onto the platform directly from your clipboard.
- Wait for Shots.so to Adapt: Once the image is uploaded, Shots.so will adapt to your image size and shape, automatically generating a realistic scene preview for your mockup.
- Download Your Mockup: If you’re satisfied with the preview, simply proceed to download your high-quality mockup image, ready to be showcased on your website or presentation.
With Adobe Firefly, web designers can effortlessly enhance their designs using AI-powered tools. For instance, generate vivid images just from text descriptions or revamp vector artwork with generative recolor. You can even turn simple drawings into full-color images? And for a more immersive experience, create 3D scenes by using text prompts.
Chrome Extensions
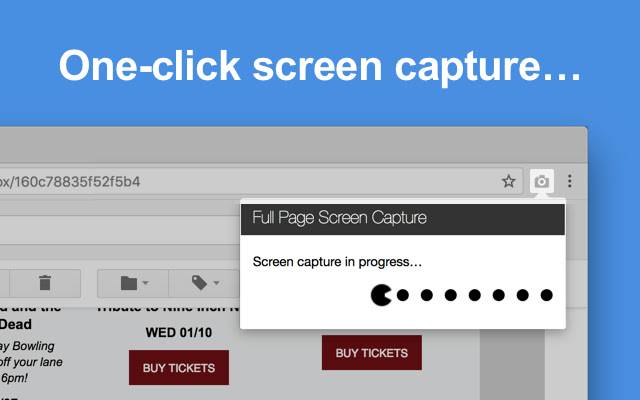
GoFullPage
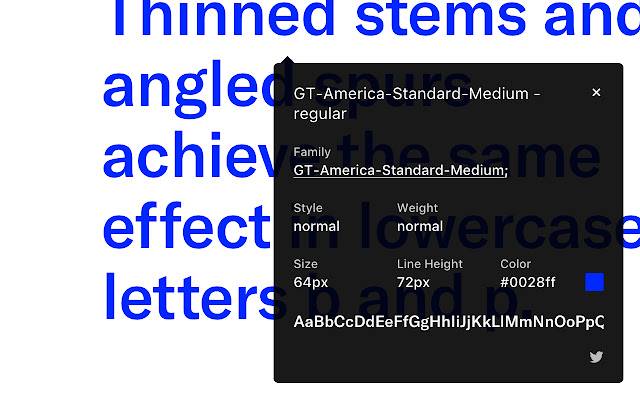
Whatfont
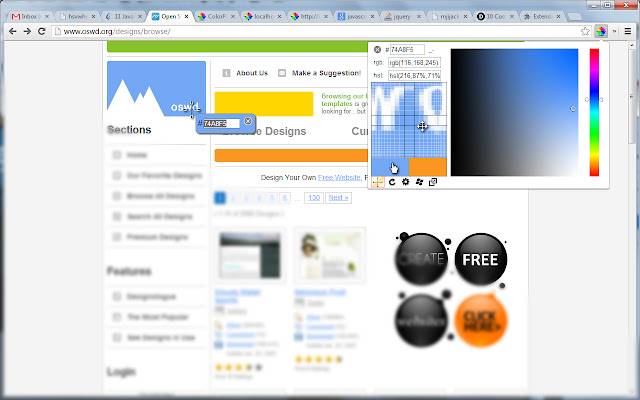
Colorpick Eyedropper
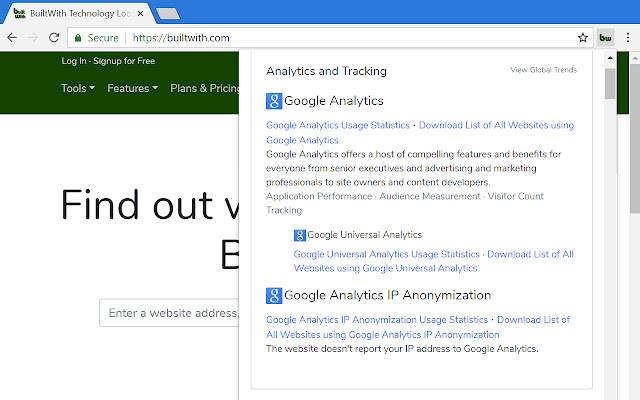
Builtwith
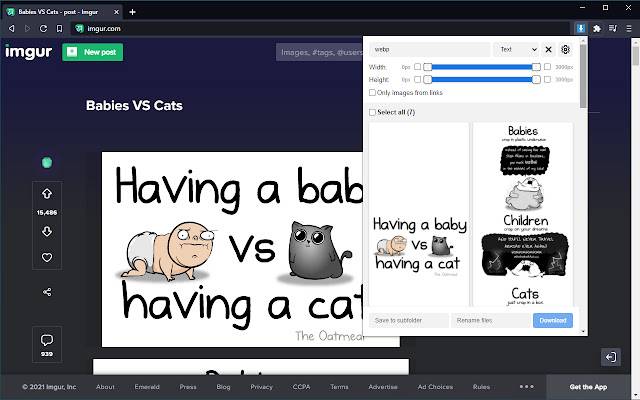
Image Downloader

Hello everyone, feel free to ask any question here 🙂
ada buat servis untuk buat landing page?
some of the video is not working
If you encounter any video playback problems on your mobile device, please consider viewing this course on laptop, or desktop. We are actively addressing issues to enhance the learning experience.
I have reconfigured the streaming zone, kindly let me know if the issue persists
Which is the difference between the 2 services that they provide, one is PAGE SPEED BOOSTER and the other one is PLATFORM, how to know which we should pick.
Hi Raul, good question. Page Speed Booster is for those who host their WordPress website with another hosting provider, while the platform itself includes hosting and Page Speed Booster as part of a single package in their offerings.If you wanted to use the AI builder, you should opt for the platform package 🙂
So if I choose page speed booster it means I have to have 2 hosting
to clarify, speed booster package does not include 10Web hosting, the AI builder is only available for the platform itself